July 16, 2024 | POSTED IN: Industrial Control Products
How to Mount Harmony Flush XB6 Ø16mm Pushbuttons
A Guide on Mounting Harmony Flush XB6 Ø16mm Pushbuttons
About Harmony XB6 Pushbuttons
The Harmony XB6 range of Ø16mm plastic pushbuttons, switches, and pilot lights offers modular and monolithic designs that provide flexibility and simplicity of setup in industrial and commercial applications.
The range includes:
- Spring-return pushbutton switches
- Illuminated pushbuttons and pilot lights with “Protected LED”
- Mushroom-head emergency stop buttons with snap-action locking
- Selector switches
- A wide range of accessories to fit your needs
Features:
- Circular, square, or rectangular heads
- Solder tab connections (compatible with Faston connection for contact function) or pins for printed circuit board connection
- Conformity with IEC, UL, CSA, and CCC standards, as well as CE marking
- Up to IP65 protection rating
Tools required:
- Button + Light Block
- Flush Bezel
- Seal
- Fixing Collar (metal)
- Tightening Nut
- Tightening Wrench - Harmony ZB6Y905
Steps to mount Harmony XB6 Ø16mm Pushbuttons:
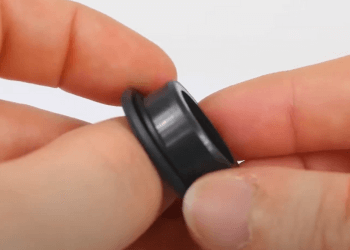

Step 1
Place the Seal over the Flush Bezel.
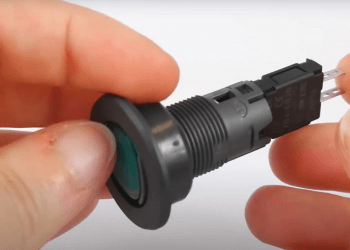

Step 2
Place the Button + Light block through the Flush Bezel.
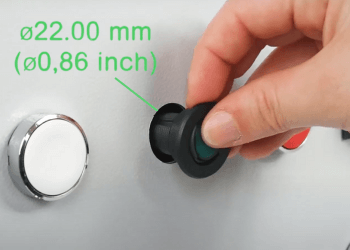

Step 3
Place the component through the mounting panel.
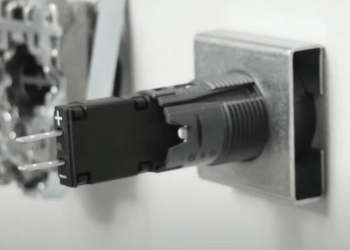

Step 4
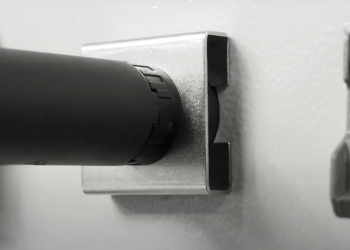
Place the metal Fixing Collar through the component.

Step 5
Put through the Tigthening Nut, and tighten using the Harmony ZB6Y905 Tightening Wrench.


Share this article on social media